How to Setup Claude Code (5-Min Guide for Non-Techies)
Co-founder at King’s Cross Labs · ex-LinkedIn PM & Forbes 30 Under 30
Most people treat Claude like a smarter search engine. Type something in, get an answer, close the tab.
That's fine, but it's like hiring a full-time assistant and only ever asking them to Google things. Claude Code is the version of Claude that actually does the work. Give it a task in plain English and it reads your files, writes new ones, runs code, updates spreadsheets.
This guide gets you set up in under 5 minutes and shows you exactly what that looks like in action.
What is Claude Code?
There are two modes of working with AI. Most people only know one.
Chat (Claude.ai, ChatGPT): You talk to it, it responds. The conversation ends, nothing else happens.
Agentic (Claude Code): You give it a task, it performs it. It can read files on your computer, write new ones, run its own code, and remember things across sessions.
Claude Code is the desktop app version of Claude built for this second mode. There are other agentic tools out there (Claude Cowork, OpenClaw) but we're starting here because Claude Code is the most accessible one to get your hands on.
Key insight: The gap between Chat and Code isn't about prompting skill. It's about what the tool is actually allowed to do.
Quickstart (5 minutes)
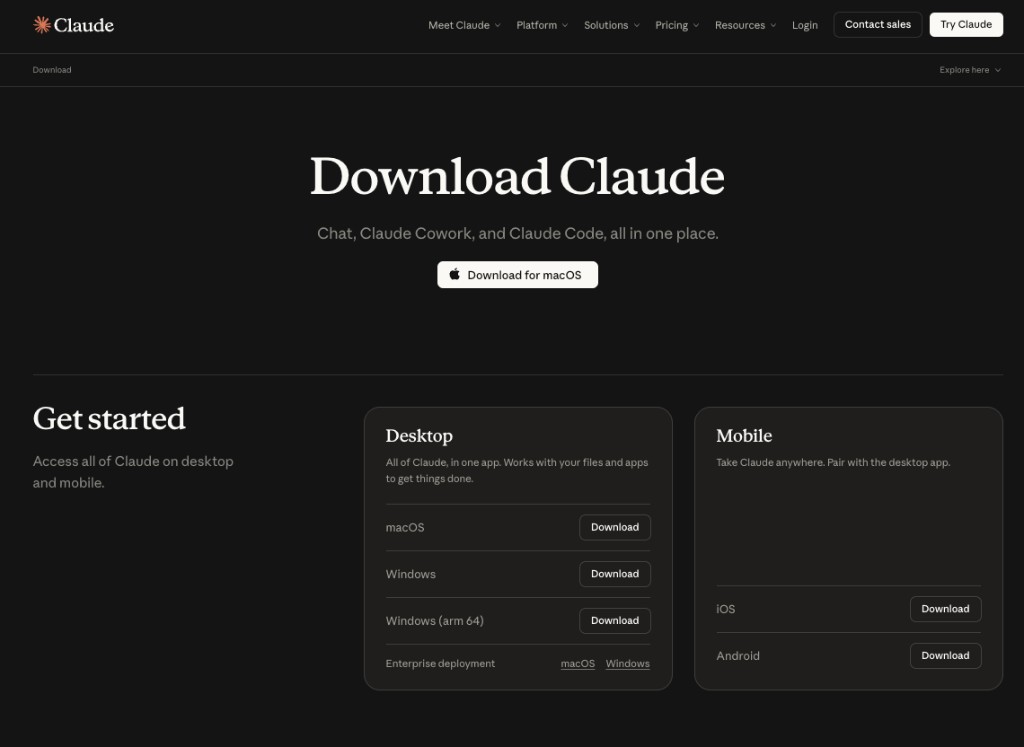
Step 1: Install the Claude desktop app
Go to claude.com/download and download the app for your computer. Standard install, nothing complicated.
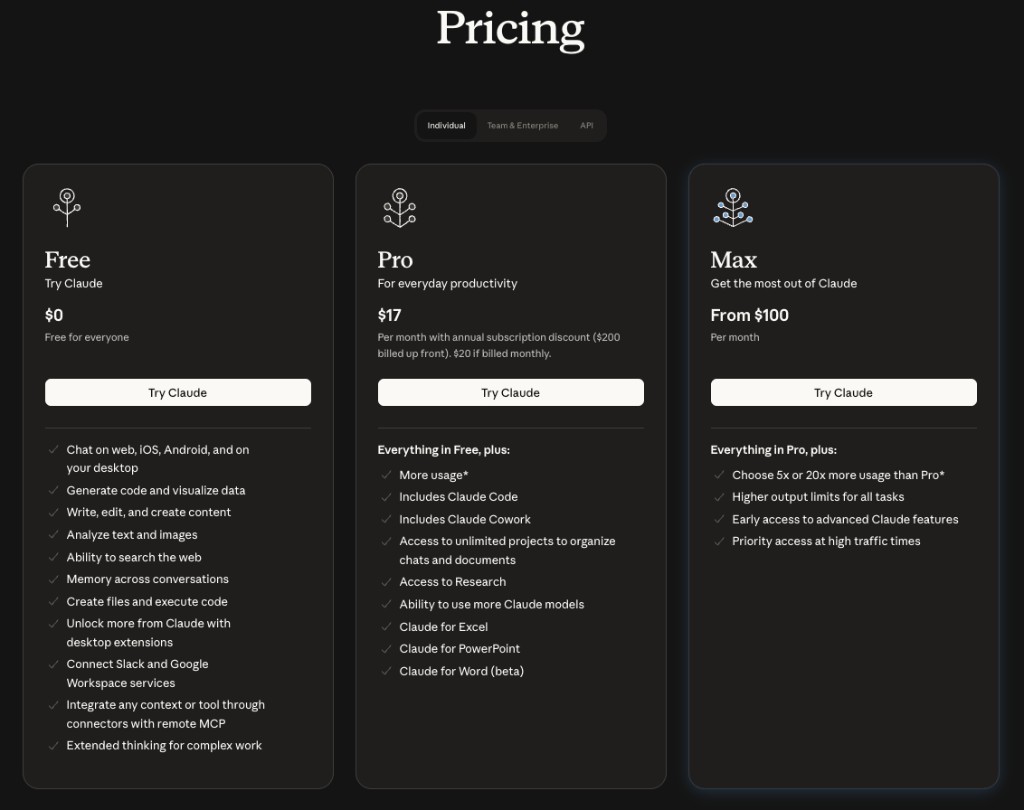
Step 2: Get Claude Pro ($20/month)
Claude Code requires a Claude Pro subscription. Once you're logged in, you'll see an upgrade prompt. The $20/month plan is what unlocks it.
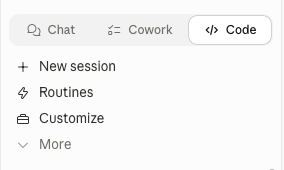
Step 3: Switch to the Code tab
After logging into the desktop app, look at the very top of the window. You'll see tabs. Click the one that says Code. This switches you from chat mode into agent mode.
Step 4: Pick your workspace folder
Below the message input, you'll see a folder selector. This is your workspace, the folder on your computer that Claude Code is allowed to read and write files in.

Click it to choose a different folder, or create one called claude on your Desktop and use that. Either works.
That's it. You're set up.
Understanding the workspace
Before you jump in, two things worth knowing.
The workspace is the folder you selected. Claude Code can read any file inside it and create new files there. Think of it as Claude's desk. It can only work with what's on the desk.
Skills are sets of custom instructions you give Claude Code to follow. For example, /generate-instagram-hooks could be a Skill you build that generates hooks in your specific voice, using examples of what's worked before. The more you use it, the better it gets. Official Skills docs here.
Real example: turning receipts into a spreadsheet
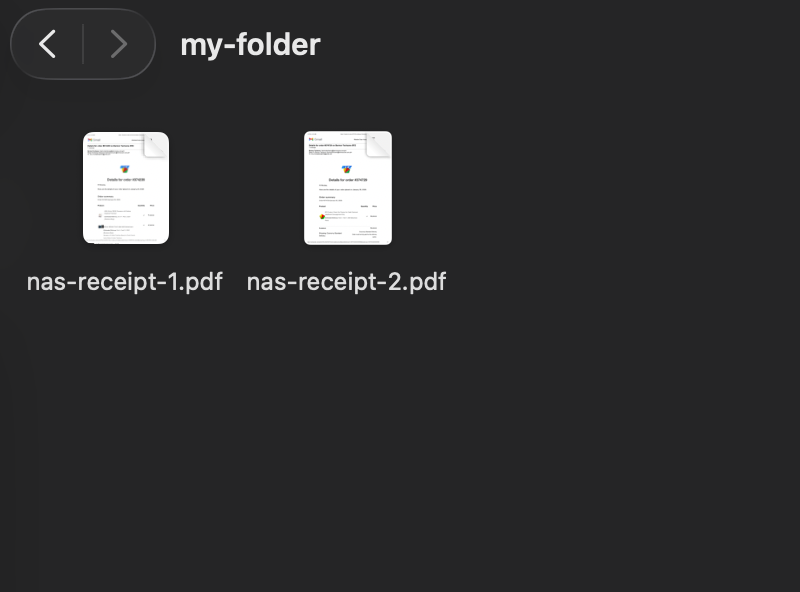
Here's something I actually did that shows what makes Claude Code different from a normal chat.
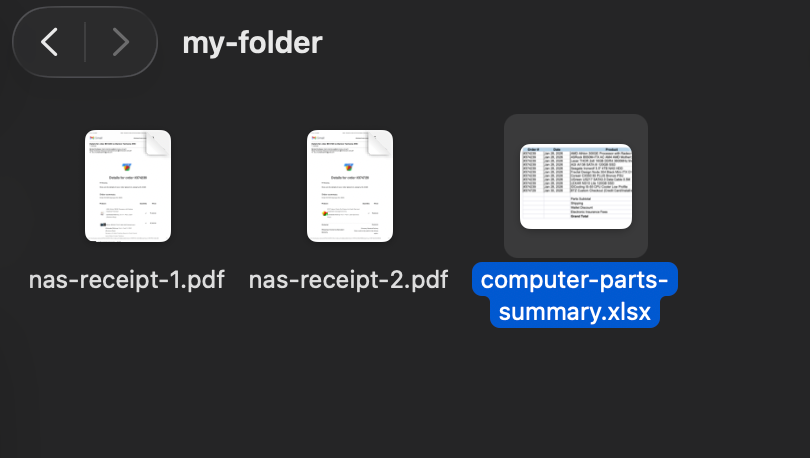
I had two receipt PDFs in a folder called my-folder, both for computer parts, both priced in Philippine Pesos.
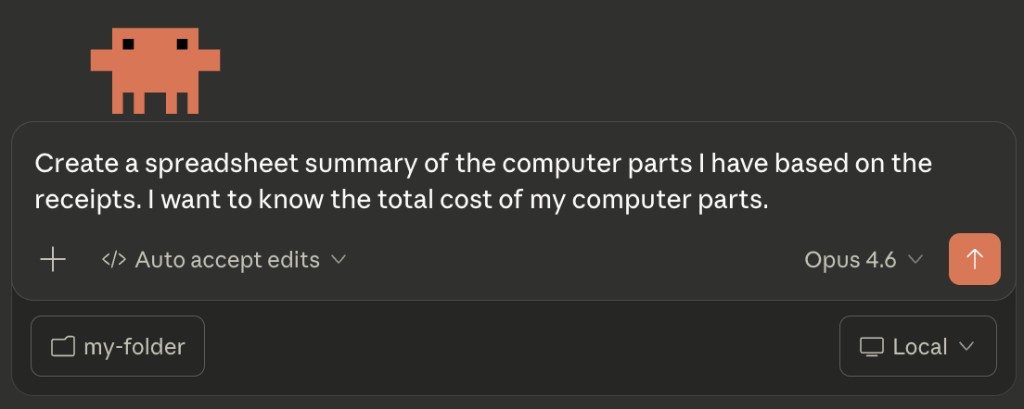
I opened Claude Code, set my-folder as my workspace, and typed:
"Read both receipts in my-folder and create a spreadsheet with all the items, quantities, and prices."
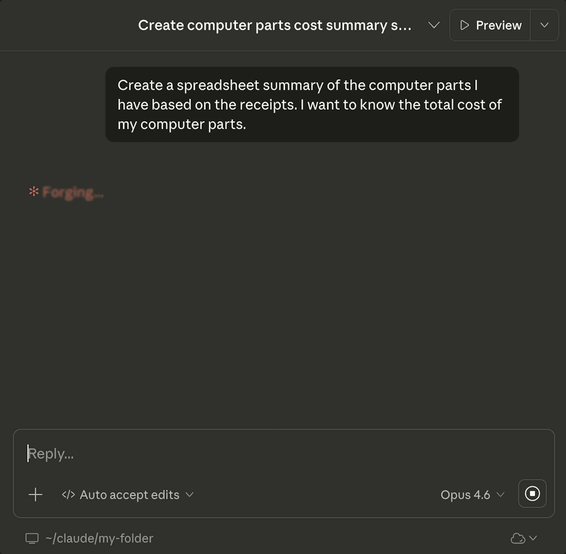
If it needs to write code to parse the files, it does that on its own and runs it inside the workspace. You don't touch any of it.
The result: a brand new .xlsx spreadsheet in my-folder.

Looks good, but I wanted a USD column too. So I just asked:
"Update the spreadsheet to add a USD column using today's exchange rate."
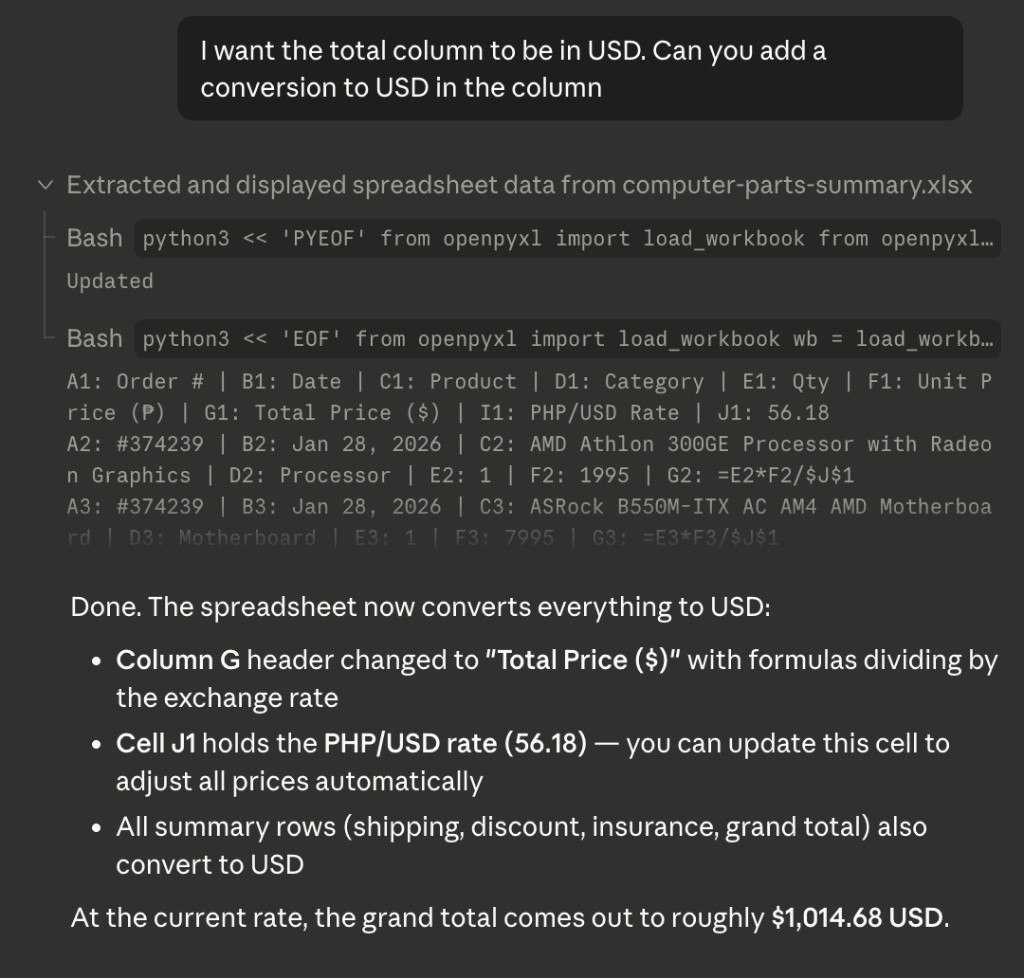
Claude opens the file, writes code to update it, runs that code, saves the result. No manual work.
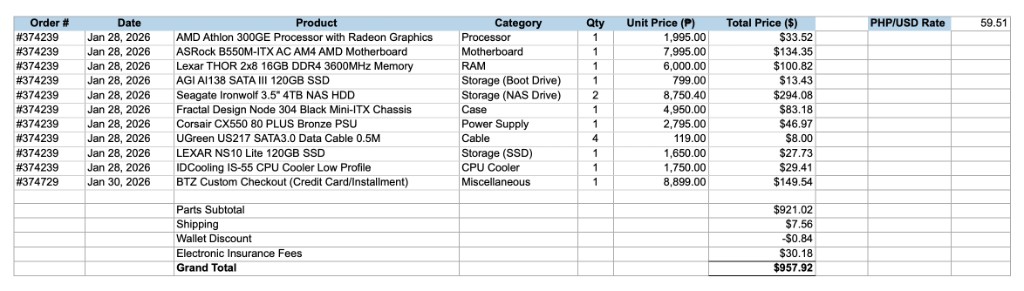
Done.
What's next
That receipt example is a simple one. Claude Code works with any file type: PDFs, images, text files, code, markdown. If it doesn't know how to read a format natively, it writes code to figure it out.
The more you use it, the more you'll find tasks you were doing manually that Claude Code can just handle.
Additional reading
Here are some related guides to check out:
Frequently asked questions
- What is Claude Code and how is it different from ChatGPT?
- Claude Code is the agentic version of Claude. Instead of just chatting back, it actually does the work: it reads files on your computer, writes new ones, runs code, and updates spreadsheets from a plain-English task. The difference from chat tools isn't prompting skill; it's what the tool is allowed to do. It's the desktop app version of Claude built for that "do things" mode.
- How do I set up Claude Code?
- Four steps, about five minutes: download the Claude desktop app from claude.com/download, get a Claude Pro subscription ($20/month, which unlocks it), click the Code tab at the top of the app to switch into agent mode, and pick a workspace folder Claude can read and write in. That's it. A folder called "claude" on your Desktop works fine to start.
- Do I need to know how to code to use Claude Code?
- No. Despite the name, you give it tasks in plain English and it handles any code itself. In the guide's example, dropping two receipt PDFs in a folder and asking for a spreadsheet of items, quantities, and prices produced a finished file, and a follow-up added a USD column at today's exchange rate. If it needs to write code to parse a file, it does that on its own and you never touch it.
- What is the workspace folder in Claude Code?
- It's the folder you select that Claude Code is allowed to read files from and create new files in. Think of it as Claude's desk, since it can only work with what's on it. Any file type works: PDFs, images, text, code, markdown. Pick or create one folder to start, and everything Claude Code does happens there.