How to Make Your Website Look Expensive with AI

Co-founder at King’s Cross Labs · ex-LinkedIn PM & Forbes 30 Under 30
Send this guide to yourself
Get the link in your inbox so you can read it whenever you're ready.
Your email will also be saved for future updates.
You can make your website look like a company that paid for design, using two markdown files and one prompt. The trick is giving the AI a real visual reference instead of adjectives. You build a brand file with your colors and fonts, grab a design.md from a site whose look you actually want, and then every page you generate reads both files first.
At my first startup we paid a design agency ten thousand dollars to redesign our website. I am redesigning mine again right now, and I am doing the whole thing myself with this workflow.
Why this matters
Telling AI to make a site "modern and clean" gets you the same beige template everyone else has, because those words mean nothing specific to a model. Telling it "match this type scale, this palette, and this component style" gets you something that looks designed. What separates a cheap-looking site from an expensive one is almost always whether the AI had a real reference to match.
Step 1: Build your brand file first
Start with a brand file, because without one the AI will nail someone else's look and none of your own. A brand.md is a single markdown file holding your colors, your fonts, and your voice, and it is the thing that keeps the output yours instead of a clone of your reference site.
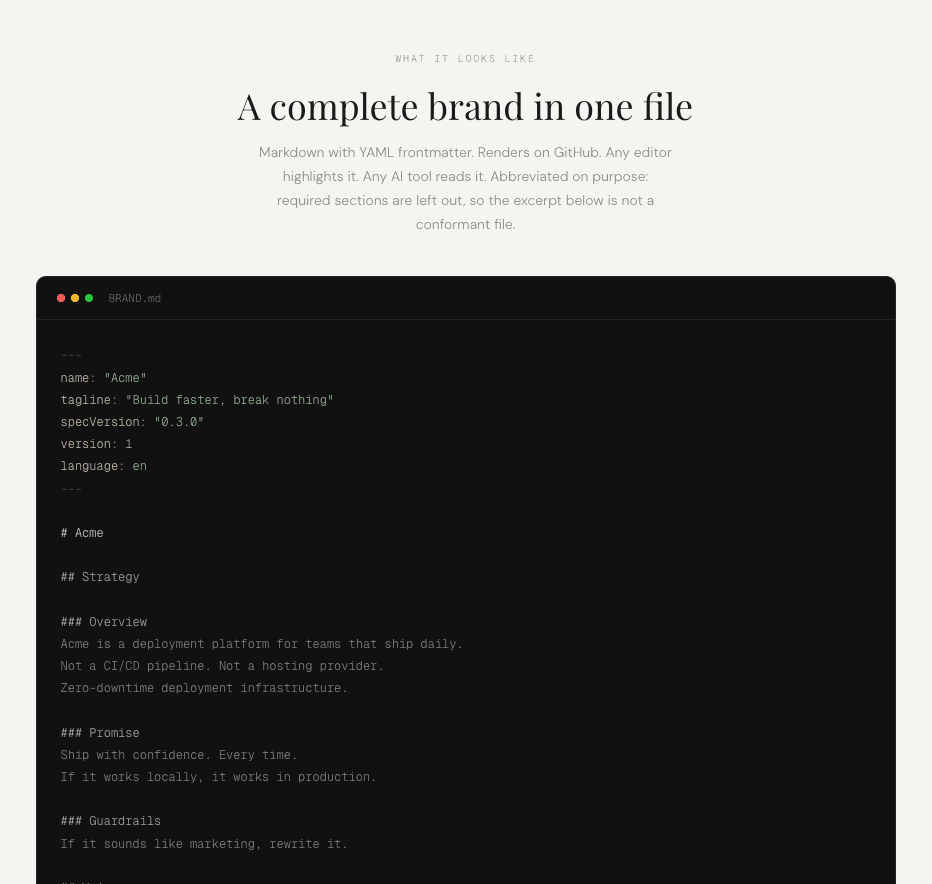
If you do not have one yet, here is the full guide to creating a BRAND.md file. It takes about ten minutes with a free plugin, and everything below assumes you have it.
Step 2: Find a site whose look you actually want
Go to Refero Design and browse until something makes you stop scrolling. Refero catalogs real websites by visual style, so instead of describing what you want, you can point at it.
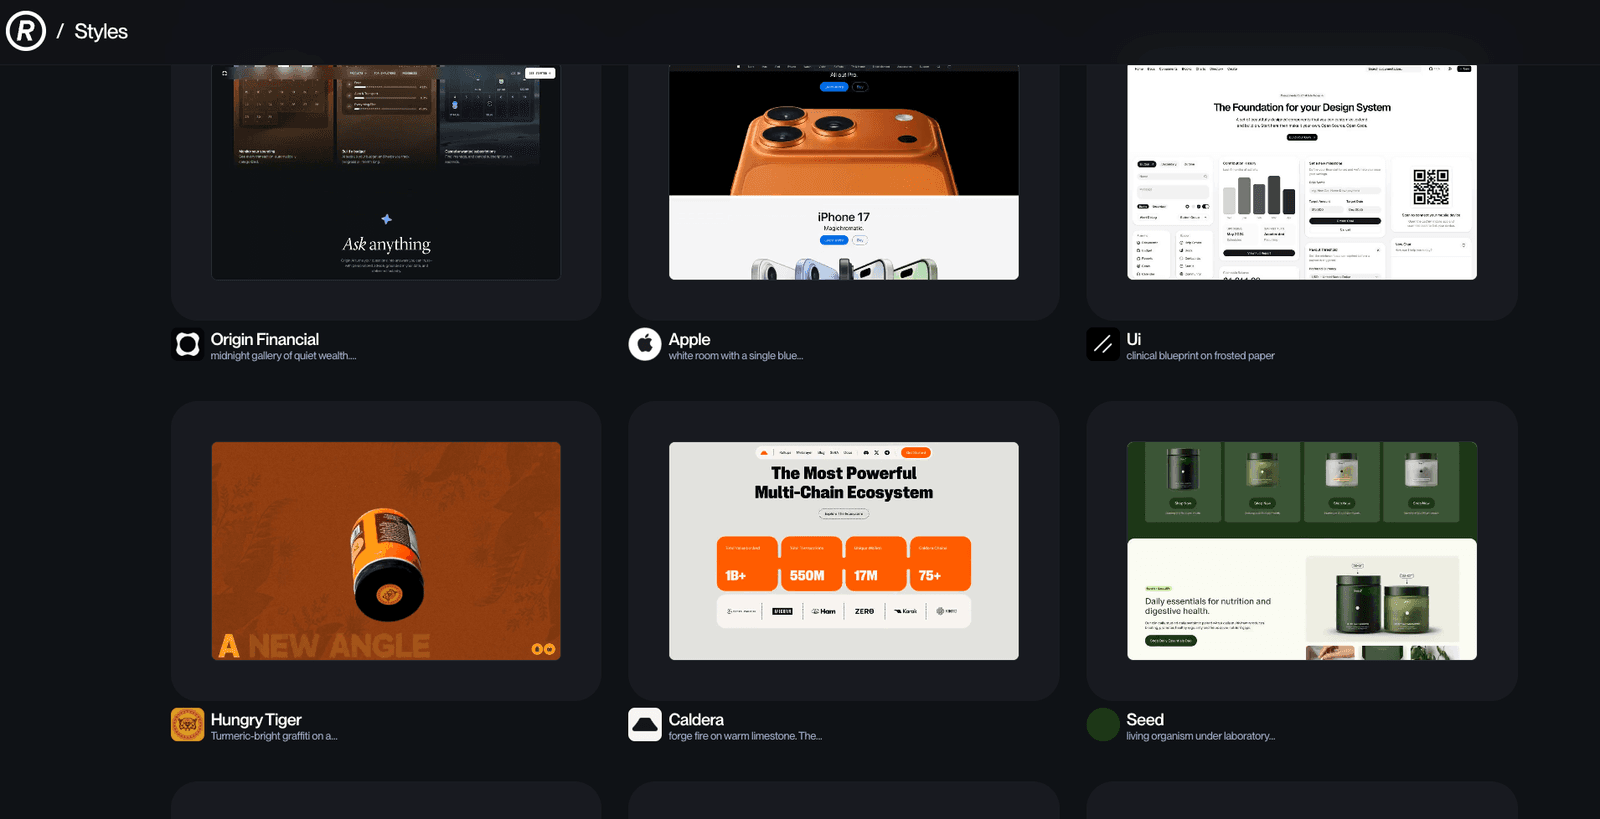
Pick for design language, not industry. I picked Duolingo and Family, and neither one is remotely in my business. What matters is whether the type, spacing, and color logic are doing something you want.
Step 3: Copy the design.md
Open the style you picked and copy its design.md. Refero writes these out for you, complete with hex codes, font weights, sizes, line heights, and letter spacing, plus a written description of what the design is doing and why.
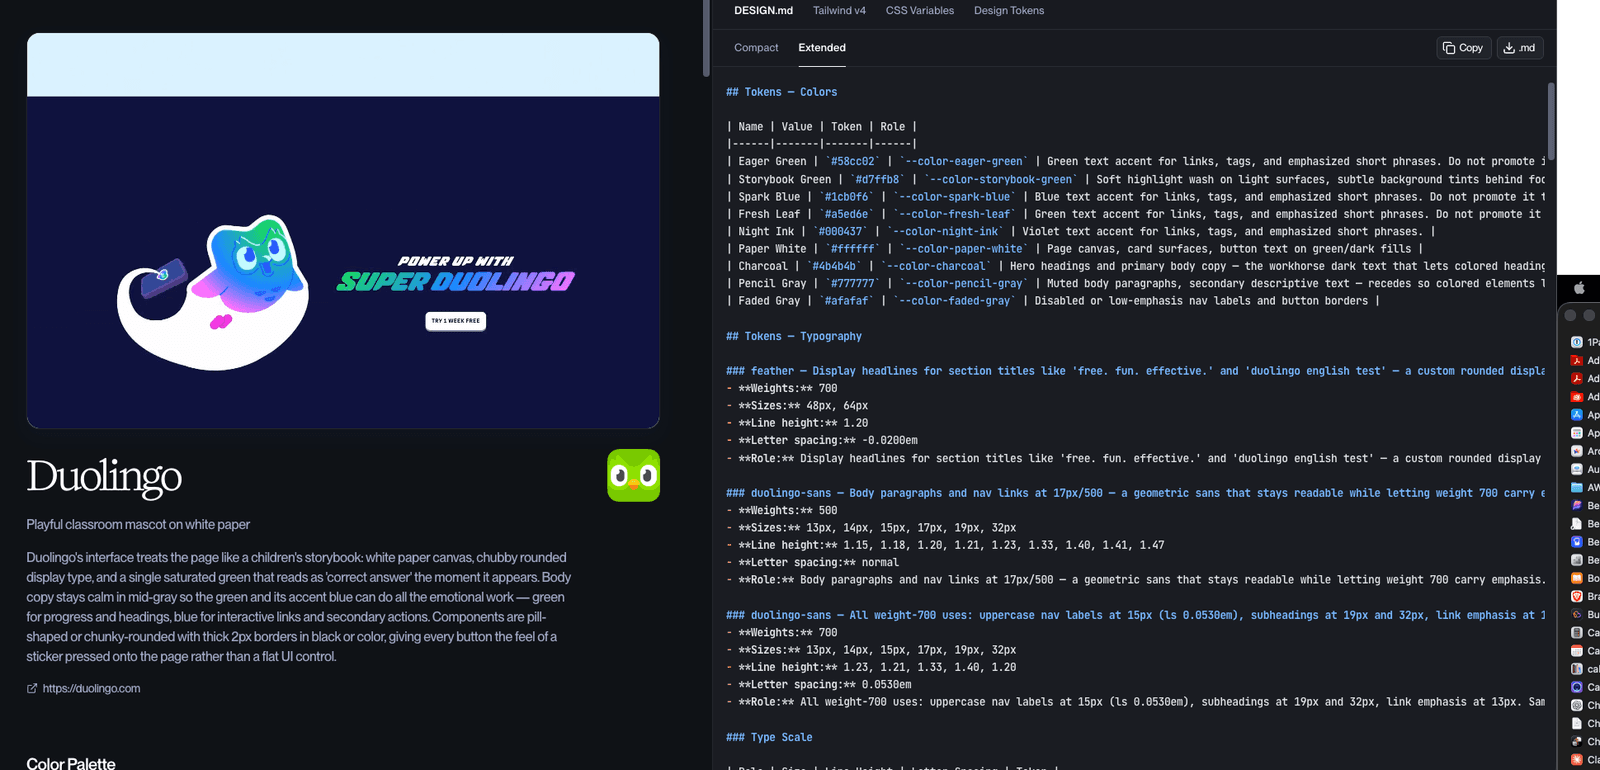
The Role column is why this works. Its entry for green reads "green text accent for links, tags, and emphasized short phrases, do not promote it further," which is the instruction that stops AI from spraying your accent color across the whole page.
Key insight: You are handing the AI a photo of what good looks like, the same way you would before asking it to make an image. Except the photo is a website, and it comes with the exact numbers.
Step 4: Put it next to your brand file
Save the design.md into your website project, in the same place your brand file lives. Both files need to be inside the folder Claude has open, or Claude will not read either one.
Now you have both halves: your brand file says who you are, and the design.md says what good looks like. The AI applies your brand in the reference file's visual language.
Step 5: Prompt for the page
Ask Claude or Codex to build the page and reference both files. The prompt is short because the files are doing the work.
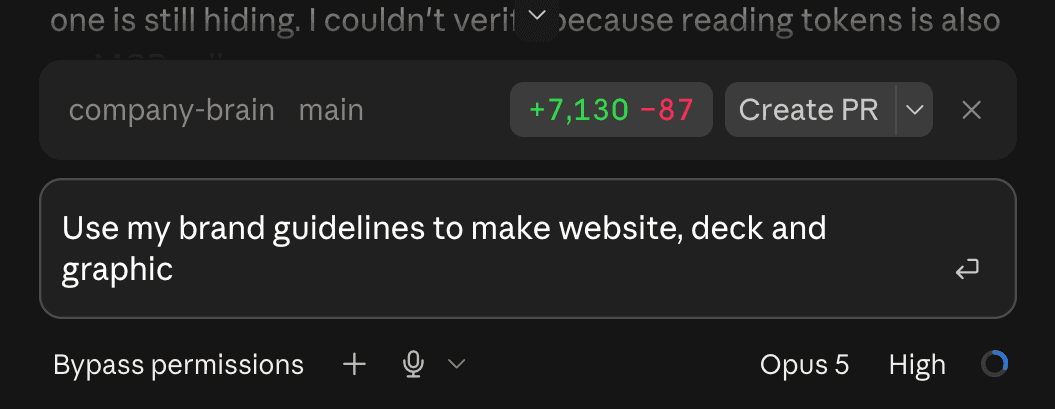
This is also why the same setup works for decks and graphics, not just landing pages. Anything the AI generates in that folder reads the same two files first, so it all comes out consistent. That is the same principle behind getting ten design options instead of one.
Additional reading
Here are some related guides to check out:
Frequently asked questions
- What is a design.md file?
- A design.md file is a markdown file describing exactly how a website looks: its colors with hex codes, its fonts with weights and sizes, its spacing, and its component style. You hand it to an AI as a reference for what good looks like, the same way you would hand a designer a photo.
- Is it okay to copy another site's design.md?
- You are copying the design language, not the site. Use it as a reference for structure, type scale, and how a good site handles spacing, then let your own brand file supply your actual colors, fonts, and voice.
- Do I need both a brand.md and a design.md?
- Yes, and they do different jobs. Your brand.md holds who you are: your colors, fonts, and voice. The design.md holds what good looks like visually. AI reads both, then applies your brand in the reference file's visual language.
- Does this work with tools other than Claude?
- Yes. Both files are plain markdown, so Codex, Cursor, and ChatGPT can all read them. The workflow is the same regardless of which coding assistant you use to build the page.
Want to build your first AI agent?
Build Your First Agent 101 is the next step! You'll get step by step guides, video tutorials and starter prompts to create your first agent in half a day, customized to your own workflow.
Learn more